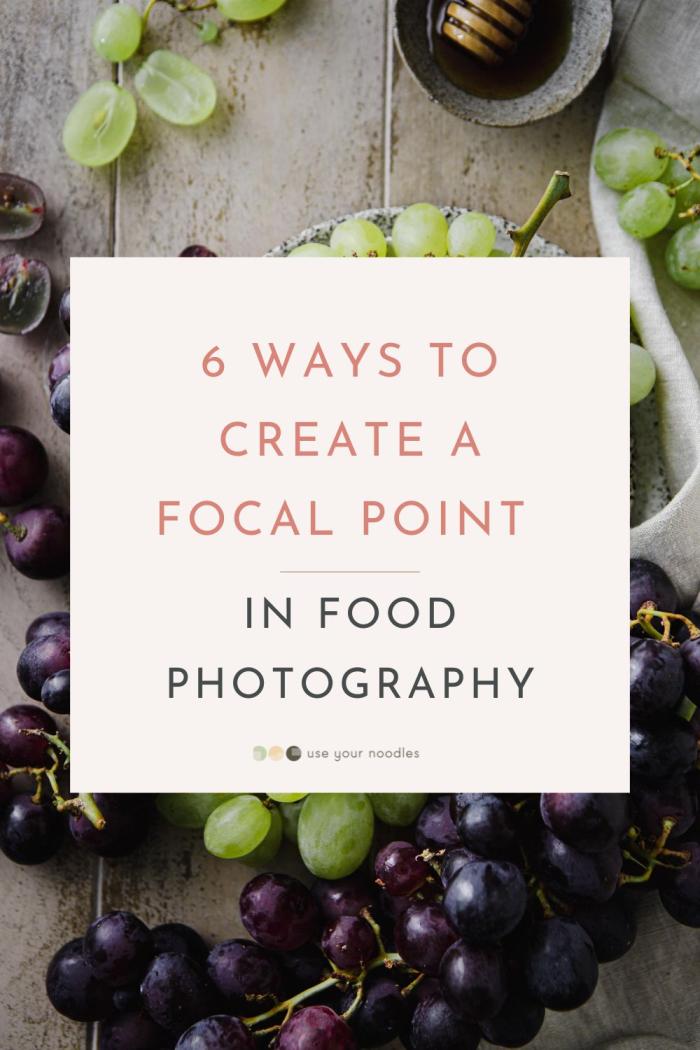
6 Ways To Create a Focal Point in Food Photography
I am sharing some of my favorite ways to create a focal point in food photography. There are simple techniques you can apply to take better food photos today.

If you ever took one lesson and applied it to your food photos, it would be this – make sure your photo has a focal point.
There are exceptions to this rule, like anything else in life, but truly keep this sentence in the back of your head. ALWAYS!
Creating captivating images is all about the viewer understanding and emotionally connecting with what they are seeing – your food photo.
And if you want to achieve that, you need to master creating a focal point in a photo.
If you’re looking to enhance your food photography skills and make your dishes pop off the screen, then you’re in the right place. Because in this blog post, we’ll delve into the concept of the focal point and its crucial role in food photography.
The Heart of Food Photography – The Focal Point
In food photography, the focal point is the heart and soul of your shot. It’s the element that immediately grabs the viewer’s attention, leading their eyes through the frame and making your subject shine.
So, what happens when your photo doesn’t have a focal point?
As I mentioned, there are times when there is not just one focal point. But in most cases, you will need only one focal point in the frame.
When you don’t have a clear and compelling focal point, your food photos risk falling flat and failing to engage your audience. So what that means is they will be confused with what they are seeing or have a hard time knowing what exactly is happening in the frame. Where should they be looking?
So, how can you master the art of creating a powerful focal point in your food photos? Let’s dive into these six super easy techniques you can use straight away to make your food photography a million times better.
For more in-depth concepts and techniques around the focal points and composition, enroll in my masterclass – Food To Frame.
Here are some of my favorite ways to create a focal point in food photography. Keep in mind that, in most cases, you will use more than just one of these techniques.
1. Leading Lines
Leading lines are one of the most effective and straightforward ways to bring the viewer’s eye to the focal point. But it is also quite tricky since you need to learn what works and what doesn’t.
These lines can take the form of utensils, tableware, or even the arrangement of ingredients and even just empty space. However, keep in mind that the subtlety of leading lines can be an art in itself.
If you want to read more about leading lines, I have a whole article on this topic.


2. Depth-of-Field
When you skillfully blur out parts of your frame either in the back or in the front of your subject, this can create a stunning way to emphasize whatever is not blurred.
The depth of field is a super technical thing because you need to find that sweet spot in your camera settings, aperture to be exact, and the placement of the elements in the frame.
In general, we know:
- Shallow depth of field, where the majority of the frame is out of focus, aka blurred and
- Deep depth of field where the majority of the photo is in focus
- And all the spots in between
Lower aperture settings create a shallower depth of field.
Higher aperture settings create a deeper depth of field.
When you can master how narrow or wide the depth of field your photos need, you have mastered one of the most powerful techniques for bringing focus into the areas you want without any distractions.


3. Post-Processing
Post-processing is where your food photos truly come alive. It’s that final way to make everything in your photo shine – especially the focal point.
During editing, make sure that your adjustments not only enhance the colors, textures, and contrast of your entire frame but also accentuate the focal point.
Any kind of local adjustments that you can apply to only parts of the photo will have a great impact on the way your final photo looks.
Using local adjustments, brushes, masks, and all this fun stuff is one of the things a lot of my students are super scared of. But trust me, it’s not too scary once you know how to work all the tools.
When you learn a new software, the first thing I suggest doing is learning to work with the tools that allow you to edit parts of the photo instead of the entire photo.


4. Play of Light and Shadows
Light is essential to any food photo, right? Well, so are shadows.
But the thing is, light is not just a way to make your subject bright and visible. It is far beyond that.
The way light and shadows play can not just add depth to your food photos but also create an emphasis on your subject.
Whether it is making it brighter, keeping the surroundings in the shadow, or having stronger shadows on the main subject in comparison to everything else, the possibilities are truly endless.
And I encourage you to explore light and shadows more.


5. Layering
Layering can be achieved in various ways. You can create layers in multiple ways, using the space around your subject.
I like to teach layering in different directions and how those affect the final photo, plus how the layers interact with each other.
Actually, creating a depth-of-field is one way of adding layers to your photo.
But one of the simplest ones is placing elements below your subject (which would be the props) and on top of your subject (which would be the parts of the dish or garnishes).
Layering adds depth and visual interest to your photos, so do not forget about it.


6. Enhancing Textures and Shape
Texture is something we don’t often associate with creating focus.
When intentionally enhanced or sometimes even reduced, texture can bring additional focus to a focal point. This can either be done through styling, camera settings, or, finally, editing.
Note that this is usually not the main technique for creating a focal point but rather something that supports all the other techniques.
Similarly, emphasizing shape through careful placement of both your subject or other elements in the frame can bring focus to that particular shape.
When a shape is clearly standing out, it will immediately attract our gaze.


Conclusion
With these six techniques and your creativity in your toolbox, you’re all set to become a pro at creating a clear focal point in your food photos.
Just like any craft, practice is the key element. The more you practice, the more intuitive these techniques will become.
And guess what? The next post is just around the corner. We’ll keep delving deeper into the exciting world of composition for food photography. So, stay tuned for more juicy insights and tips that’ll make your food photos absolutely delectable!


Leave a Reply
Want to join the discussion?Feel free to contribute!