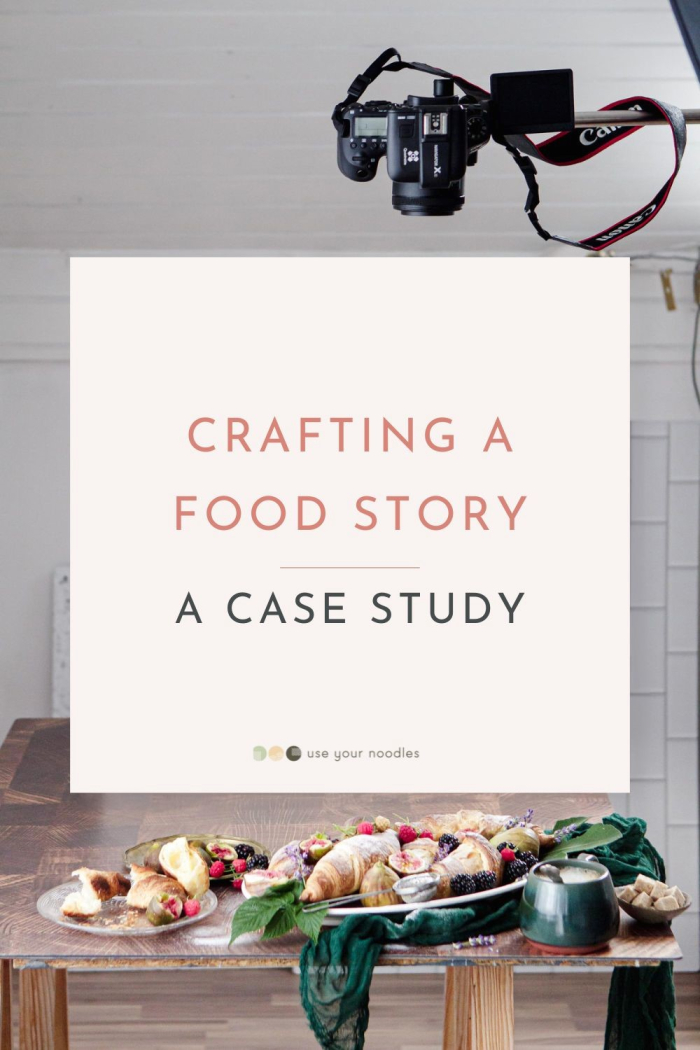
Crafting a Food Story (A Case Study)
A food story is the secret sauce of any food photo. It engages the senses and evokes emotions in the viewer.

*This post is sponsored. All opinions are my own.*
What is storytelling?
In food photography, a single image can tell a story that goes beyond the plate. A well-crafted food story forms the foundation of every captivating food photo, giving the viewer more than just a visual experience.
When we create a narrative, it can:
- engage the senses,
- trigger emotions, and
- create a personal connection with the viewer.
That being said, not every single food photo will have a story to tell. Photos of foods, dishes, or produce on a simple background, usually used for graphic design purposes, don’t normally tell any story.
Most of the others will have some sort of narrative. Some more, some less. Depending on the style and purpose of the photo.
In this blog post, I want to show you the art of creating food stories in an easy and understandable way so that your photos become more engaging and relatable.
How does a food story enhance your photos?
At the heart of every excellent food photo lies a straightforward food story. But what exactly makes people pause and feel a connection?
A food story is a carefully crafted frame that speaks to the heart. It has the potential to transport viewers to a specific time and place, or evoking emotions.
Emotions are the bridge that connects your food photo with the viewer. A well-crafted food story not only showcases the dish but also infuses it with emotions that resonate with the viewer. Imagine the aroma of freshly baked bread, the warmth of a cozy kitchen, or the nostalgia of a family recipe. These emotions create a sense of intimacy that draws the viewer in and invites them to engage on a personal level.
What is more, the way you tell stories in your photos allows you to define your unique photographic style. The way you see your subject and frame is entirely subjective, giving your photo a unique point of view.
Crafting a story
Think about book authors. What do they do when they start writing a book? First, they create a plan, an outline of the story. And it is just the same with a food photo. It should be meaningful and well thought out.
I like to write down on a piece of paper exactly what story I want to tell in my photos and what I need to do to achieve that. Having a vision before setting up your lights and props is super important. It will save you time and energy trying to figure out all the necessary elements you need and how to bring them all together.
In the case study below, you will get an insight into my thought process when creating a photo and how I create a narrative that speaks not only to me but also to my audience.
Now, let me take you through the steps I normally take to craft a food story in my work.
Case Study
Let’s dive into a practical example to understand better how a food story can be added to a photo. To bring my story to life, I like to take the following steps:
1. Putting the story into words
For this example, I wanted to create a photo of a late summer breakfast. I had some late summer produce and some croissants, and they reminded me of not only the late summer but also the Mediterranean. So, I gave the story a time and a place.
2. Determine the feelings and emotions
The idea behind the narrative sets the stage for a mood that’s slightly moody and dark yet still carries hints of the fading summer light. Determining the feelings and emotions gives us a clear indication of what type of light we need to use to match the story.
3. Finding colors that match the story
Colors are one of the most powerful elements of food photography. When trying to tell a story, it is also crucial to know what specific colors will be perceived and how to use them to our advantage.
Inspiration for colors can be various, but since this photo was closely related to a specific season, which is late summer, I tried to use colors that would match that story. Late summer is when the colors are just starting to become more muted, warmer even.
So, for this scene, I did not want to pick specific color palette beforehand since those were determined mainly by the produce and foods I used. I did, however, want to make the colors more muted. And you will see, later in this article, how I achieved that.
When you don’t have a clear color palette in mind, you can use online tools like Asana Color Palette Generator or Adobe Color Wheel to help you find a combination that would match your food narrative. Learning about the meaning of color and different types of color palettes is something every artist needs to do.

4. Choosing a backdrop
When choosing a backdrop that helps to tell your food story, you can think about:
- Color
- Texture
- Brightness
- Style
- And even shape
Looking into my story, I knew I wanted something that could easily be transported to an old villa in the Italian countryside. And that made me think of wood and stone. These were the two materials that reminded me of this place.
I wanted to create a homey, warm feel that would evoke emotions of a season slipping through our fingers.
This is why I chose two backdrops. One dark wooden backdrop, which would become the tabletop, and a cool grey stone backdrop by V-flat world , which would be the stone floor, like you can find in Italian countryside villas.
So, the contrast between the two backdrops also gives the sense of warm meeting cold. Just like the warm summer is slowly transforming into the cooler autumn.


I chose the two Duo Boards, not only because I loved their look but also because adding a backdrop on the floor requires a larger backdrop. When you photograph an element that is further away from the camera, it will take up less space in the frame. This is why a larger backdrop is perfect for situations like these. The Duo Boards are larger than most other backdrops I own, so they were perfect for the job.
5. Adding props that make sense
Like backdrops, all props you use in the frame need to be consistent with the story. If you place an element that clashes with the rest, it will take all the attention from the main subject. So you want to avoid that.
Think about the:
- Color
- Texture
- Shapes
- Sizes
- Styles of the props when setting up the scene.


6. Shape the light to add the mood
One of the, if not the most essential part of effectively telling a story is lighting. To create a desired mood, we can use specific types of light and modifiers. This further enhances the emotional impact of the photo. Understanding the nuances of light and shadow is essential to communicate your intended story.
So, the next time you’re on the set, remember that your choice of light isn’t just an illumination—it’s a way to express a story.
In my case, I wanted to re-create a late summer light. For me, the late summer light is darker than mid-summer light and even slightly moody. The shadows are softer but not as soft as the autumn shadows.
And since my scene was set to take place in the morning, the shadows needed to be longer.

7. Styling the food
With food styling, we want to create an experience. The viewer needs to understand how the food tastes and feels in order to feel the emotions and get a full experience. Textures and colors are their visual cues.


In my late summer breakfast photo, I wanted to show different textures, such as the juicy, slightly chewy texture of figs, the crumbly texture of the croissants, and the added sweetness with the sugar dusting.
Playing with texture is the cherry on top of any storytelling.
8. Final touch – Editing
Editing is the final stage of creating a story in the photo. Having the story written down, as I mentioned in the beginning, helps immensely.
In my photo, I wanted to create muted colors, so I used editing to tone them down. However, I left the figs relatively saturated so they stand out from the rest of the frame.
Making sure the contrast and shadows were edited in a way that is also slightly muted.
And not forgetting the textures. Enhancing the detail not only in the foods on the plate but also on the backdrop was vital to make it all look realistic.


Conclusion
The main objective of the food narrative is to evoke emotions and drive you close to the food to connect with it on a personal level.
So, the next time you pick up your camera to capture something delicious, remember that the story you weave around it will be the secret ingredient to a truly captivating photograph.


")


Leave a Reply
Want to join the discussion?Feel free to contribute!