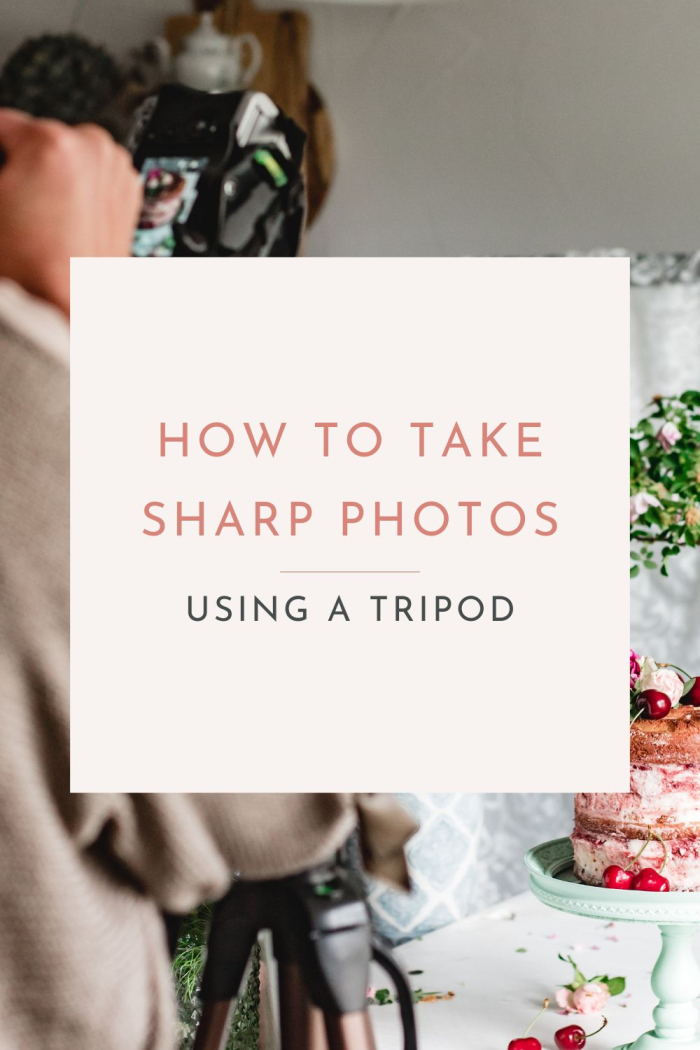
How To Take Sharp Photos (Using A Tripod)
Here are my best food photography tips for you to take sharp photos when using a tripod.

I’ve been using a tripod for most of my food photography journey. However, I’ve not always achieved that sharp look, and for a very long time, I wondered why. I am doing everything right. My camera is on a tripod, after all.
Well, yes, I’ve done the first step. But I’ve also done other things that made the camera connected to my tripod move ever so slightly—just enough to create a slight blur in my photos.
Often, the blur is not visible when looking at the entire photo. It is just a little less sharp.
But when you look up close, you can see those pixels are ever so slightly blurred.
So if you’re not getting super sharp photos, even when your camera is on a tripod you should be doing these things:
Must-have techniques to take sharp photos when using a tripod:
1. Remote Shutter Release
A remote shutter release allows you to trigger the camera’s shutter without physically touching the camera. This minimizes the risk of camera shake, especially when using slower shutter speeds. By operating the shutter remotely, you avoid the slight movements that can happen when pressing the shutter button directly on the camera body. Remote shutter releases can be done through a wired remote control or tethering or wireless remote control or tethering. There are a lot of options out there!
2. Self-Timer
When using a tripod without a remote shutter release, setting a short self-timer delay allows any vibrations from pressing the shutter button to settle before the photo is taken. Self-timer options often include up to 10-second delays, giving you enough time to release the shutter and step away from the camera before the exposure starts.
3. Stabilize the Tripod
Properly stabilizing the tripod is key for minimizing vibrations and ensuring steady support for the camera. Try keeping the tripod legs fully extended and securely locked in place. Position them as wide as possible for maximum stability, especially if the floor is uneven. Additionally, not extending the center column of the tripod helps minimize vibrations.
4. Weighted Tripod Setup
To increase stability and minimize vibrations from external factors like walking around your tripod, you can add additional weight to it, such as hanging a camera bag or attaching sandbags. BUT be mindful of the distribution of weight to make sure the tripod is balanced, because you want to prevent the tripod from tipping over.

5. Use a Sturdy Tripod & Tripod Head
Invest in a high-quality, heavy-duty, and stable tripod. The same goes for a tripod head. Choose one that locks firmly and ensure it is securely attached to the tripod to minimize potential movement.
6. Turn Off Image Stabilization
Image stabilization (IS/VR) is a valuable feature for handheld shooting as it compensates for small movements of the camera to produce sharper images. However, when using a tripod, image stabilization can actually introduce vibrations and cause unwanted blur. Check your camera manual to see how you can switch from image stabilization on and off.
7. Avoid Walking Around or Touching the Camera
Once the camera is set up and focused, it’s crucial to avoid touching or bumping the camera or tripod during the exposure. Even slight movements or vibrations can mess with the sharpness of the image, especially when using slower shutter speeds or long exposures. I like to minimize movement around the tripod so I can truly take sharp photos.
Conclusion
In photography, taking sharp photos is a highly respected goal. While using a tripod lays the foundation for stability, it’s the finer details that truly make the difference between a sharp-enough photo and a super-sharp one. By implementing the techniques outlined in this article, you can remove the camera shake quickly and easily.


Leave a Reply
Want to join the discussion?Feel free to contribute!